Spring (Spring, 스프링 MVC 사용하기, 스프링 MVC 컨트롤러, @RequeestMapping과 파생 어노테이션들, 파라미터 자동 수집과 변환, 객체 자료형의 파라미터 수집, Model이라는 특별한 파라미터, RedirectAttribut..
자바 백엔드 발전 과정
- 서블릿 > JSP > 서블릿 JSP를 결합한 MVC > 스프링 > 스프링 부트
1. Spring
- servlet : 하나의 컨트롤러에서 하나의 url만 처리 가능(get, post)
- 서블릿과 달리 하나의 컨트롤러에 여러 개의 get, post URL을 처리할 수 있다
- 클래스 외 메서드에서도 url 매핑 가능
- 컨트롤러 파일의개수가 획기적으로 줄어듬
- 어노테이션을 적극적으로 활용해서 최소환의 코드로 많은 처리가 가능하도록 설계된 점
2. 스프링 MVC 사용하기
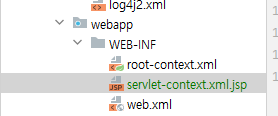
- servlet-context XML 파일 추가

- resources 폴더 추가
- 나중에 정적 파일들 (html, css, js) 이미지들을 서비스하기 위한 경로
<?xml version="1.0" encoding="UTF-8"?>
<beans xmlns="http://www.springframework.org/schema/beans"
       xmlns:xsi="http://www.w3.org/2001/XMLSchema-instance"
       xmlns:mvc="http://www.springframework.org/schema/mvc"
       xsi:schemaLocation="http://www.springframework.org/schema/beans
       http://www.springframework.org/schema/beans/spring-beans.xsd
       http://www.springframework.org/schema/mvc
       http://www.springframework.org/schema/mvc/spring-mvc.xsd http://www.springframework.org/schema/tool http://www.springframework.org/schema/tool/spring-tool.xsd">

    <mvc:annotation-driven/>
    <mvc:resources mapping="/resources/**" location="/resources/"/>
    <bean class="org.springframework.web.servlet.view.InternalResourceViewResolver">
        <property name="prefix" value="/WEB-INF/view/"/>
        <property name="suffix" value=".jsp"/>
    </bean>

</beans>
- servlet-context 파일에 코드 추가
<?xml version="1.0" encoding="UTF-8"?>
<web-app xmlns="http://xmlns.jcp.org/xml/ns/javaee"
         xmlns:xsi="http://www.w3.org/2001/XMLSchema-instance"
         xsi:schemaLocation="http://xmlns.jcp.org/xml/ns/javaee http://xmlns.jcp.org/xml/ns/javaee/web-app_4_0.xsd"
         version="4.0">

    <context-param>
        <param-name>contextConfigLocation</param-name>
        <param-value>/WEB-INF/root-context.xml</param-value>
    </context-param>

    <listener>
        <listener-class>org.springframework.web.context.ContextLoaderListener</listener-class>
    </listener>

    <servlet>
        <servlet-name>appServlet</servlet-name>
        <servlet-class>org.springframework.web.servlet.DispatcherServlet</servlet-class>
        <init-param>
            <param-name>contextConfigLocation</param-name>
            <param-value>/WEB-INF/servlet-context.xml</param-value>
        </init-param>
        <load-on-startup>1</load-on-startup>
    </servlet>
    <servlet-mapping>
        <servlet-name>appServlet</servlet-name>
        <url-pattern>/</url-pattern>
    </servlet-mapping>
</web-app>
- web.xml에 코드 추가

- 프로젝트 실행해서 'appServlet' 로그 확인
3. 스프링 MVC 컨트롤러
- 상속이나 인터페이스 구현 방식을 사용하지 않고 어노테이션으로 처리가 가능
- 오버라이드 없이 필요한 메소드들을 정의
- 메소드의 파라미터를 기본 자료형이나 객체 자료형을 마음대로 지정
- 메소드의 리턴타입도 void, String, 객체 등 다양한 타입을 사용할 수 있음
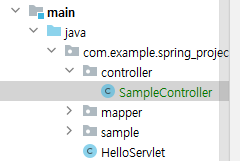
- controller 패키지와 자바 클래스 추가
package com.example.spring_project_02.controller;

import lombok.extern.log4j.Log4j2;
import org.springframework.stereotype.Controller;
import org.springframework.web.bind.annotation.GetMapping;

@Log4j2
@Controller
public class SampleController {
    @GetMapping("/hello")
    public void hello() {
        log.info("hello()...");
    }
}
- 자바 파일에 위 코드 추가
<?xml version="1.0" encoding="UTF-8"?>
<beans xmlns="http://www.springframework.org/schema/beans"
       xmlns:xsi="http://www.w3.org/2001/XMLSchema-instance"
       xmlns:mvc="http://www.springframework.org/schema/mvc"
       xmlns:context="http://www.springframework.org/schema/context"
       xsi:schemaLocation="http://www.springframework.org/schema/beans
       http://www.springframework.org/schema/beans/spring-beans.xsd
       http://www.springframework.org/schema/mvc
       http://www.springframework.org/schema/mvc/spring-mvc.xsd
       http://www.springframework.org/schema/context
       http://www.springframework.org/schema/context/spring-context.xsd">

    <mvc:annotation-driven/>
    <mvc:resources mapping="/resources/**" location="/resources/"/>
    <bean class="org.springframework.web.servlet.view.InternalResourceViewResolver">
        <property name="prefix" value="/WEB-INF/view/"/>
        <property name="suffix" value=".jsp"/>
    </bean>

    <context:component-scan base-package="com.example.spring_project_02.controller"/>

</beans>
- context 정보 코드 추가

- view 패키지와 hello.jsp 파일 추가
<%--
  Created by IntelliJ IDEA.
  User: 평일 오전 계정
  Date: 2024-04-23
  Time: 오전 9:59
  To change this template use File | Settings | File Templates.
--%>
<%@ page contentType="text/html;charset=UTF-8" language="java" %>
<html>
<head>
    <title>Title</title>
</head>
<body>
    <h1>Hello JSP</h1>
</body>
</html>
- hello.jsp에 위 코드 추가
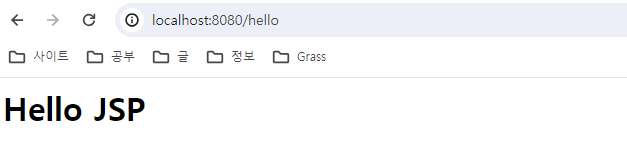
- 프로젝트 실행 후 URL 작성 시 화면 확인
4. @RequestMapping과 파생 어노테이션들

- TodoController 파일 추가
package com.example.spring_project_02.controller;

import lombok.extern.log4j.Log4j2;
import org.springframework.stereotype.Controller;
import org.springframework.web.bind.annotation.RequestMapping;
import org.springframework.web.bind.annotation.RequestMethod;

@Controller
@RequestMapping("/todo")
@Log4j2
public class TodoController {
    @RequestMapping("/list")
    public void list() {
        log.info("todo list...");
    }

    @RequestMapping(value = "/register", method = RequestMethod.GET)
    public void register() {
        log.info("todo register...");
    }
}
- TodoController에 위 코드 추가
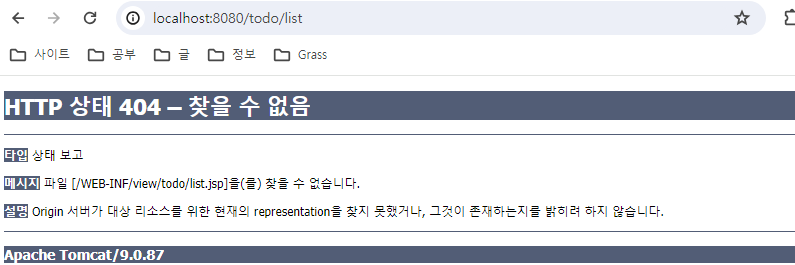
- url에 접속해서 해당 로그 확인
- 오류가 아니라, jsp 파일이 없어서 뜨는 문구. 매핑은 잘 된 것
@PostMapping
public void registerPOST() {
    log.info("POST todo register");
}
- 코드 추가 작성
5. 파라미터 자동 수집과 변환
- 파라미터 자동 수집 기능은 간단히 말해서 DTO나 VO들을 메서드의 파라미터로 설정하면
- 자동으로 전달되는 HttpServletRequest의 파라미터들을 수집해 주는 기능
- 단순히 문자열만이 아니라 숫자도 가능하고, 배열이나 리스트, 첨부 파일도 가능.
- 1) 단순 파라미터의 자동 수집
@GetMapping("/ex1")
public void ex1(String name, int age) {
    log.info("ex1()...");
    log.info("name: " + name);
    log.info("age: " + age);
}
- SampleController에 위 코드 추가
- 문자열 name과 int 타입의 age 선언
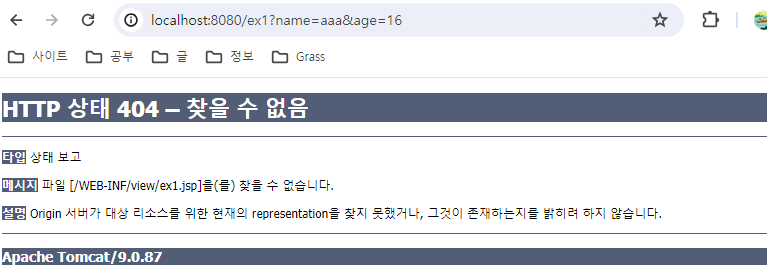
- URL에 위와 같이 정보 기입했을 때, 로그 나오는 지 확인.

- 기입한 정보 출력 되는 지 확인
@GetMapping("/ex2")
public void ex2(@RequestParam(name="name", defaultValue="aaa") String name,
                @RequestParam(name="age", defaultValue="16") int age) {
    log.info("ex2()...");
    log.info("name: " + name);
    log.info("age: " + age);
}
- ex2() 추가 후 /ex2 URL 접속
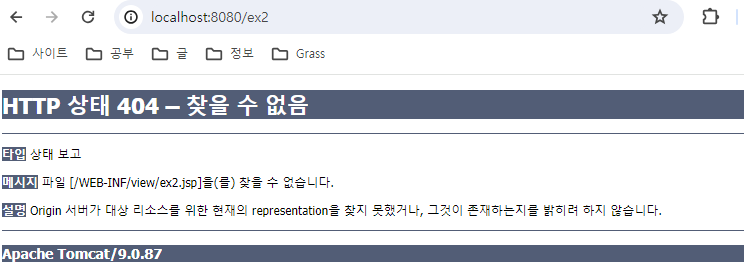
- 파라미터 값을 기입하지 않아도

- 로그 찍히는 거 확인. 오류 방지
@GetMapping("/ex3")
public void ex3(LocalDate dueDate) {
    log.info("ex3()...");
    log.info("dueDate: " + dueDate);
}
- ex3() 코드 추가
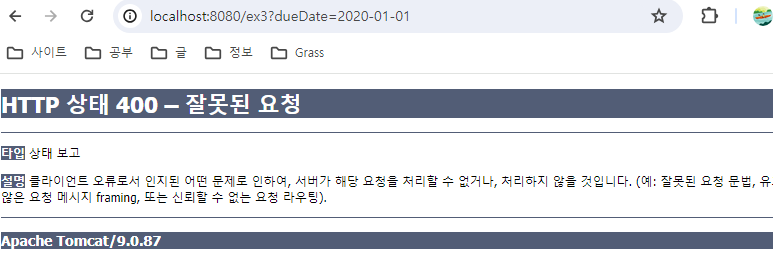
- URL로 위와 같이 정보 기입 시 에러 발생
- String 타입을 java.time.LocalDate로 변환 할 수 없어서 생긴 에러

- controller 안에 formatter 패키지 생성 후 LocalDateFormatter 파일 생성
package com.example.spring_project_02.controller.formatter;

import org.springframework.format.Formatter;

import java.text.ParseException;
import java.time.LocalDate;
import java.time.format.DateTimeFormatter;
import java.util.Locale;

public class LocalDateFormatter implements Formatter<LocalDate> {

    @Override
    public LocalDate parse(String text, Locale locale) throws ParseException {
        return LocalDate.parse(text, DateTimeFormatter.ofPattern("yyyy-MM-dd"));
    }

    @Override
    public String print(LocalDate object, Locale locale) {
        return DateTimeFormatter.ofPattern("yyyy-MM-dd").format(object);
    }
}
- 생성한 format 자바 파일에 위 코드 작성
<?xml version="1.0" encoding="UTF-8"?>
<beans xmlns="http://www.springframework.org/schema/beans"
       xmlns:xsi="http://www.w3.org/2001/XMLSchema-instance"
       xmlns:mvc="http://www.springframework.org/schema/mvc"
       xmlns:context="http://www.springframework.org/schema/context"
       xsi:schemaLocation="http://www.springframework.org/schema/beans
       http://www.springframework.org/schema/beans/spring-beans.xsd
       http://www.springframework.org/schema/mvc
       http://www.springframework.org/schema/mvc/spring-mvc.xsd
       http://www.springframework.org/schema/context
       http://www.springframework.org/schema/context/spring-context.xsd">

    <mvc:annotation-driven/>
    <mvc:resources mapping="/resources/**" location="/resources/"/>
    <bean class="org.springframework.web.servlet.view.InternalResourceViewResolver">
        <property name="prefix" value="/WEB-INF/view/"/>
        <property name="suffix" value=".jsp"/>
    </bean>


    <bean id="conversionService" class="org.springframework.format.support.FormattingConversionServiceFactoryBean">
        <property name="formatters">
            <set>
                <bean class="com.example.spring_project_02.controller.formatter.LocalDateFormatter"/>
            </set>
        </property>
    </bean>

    <mvc:annotation-driven conversion-service="conversionService"/>
    <context:component-scan base-package="com.example.spring_project_02.controller"/>

</beans>
- servlet-context.xml에 formatters 코드 추가
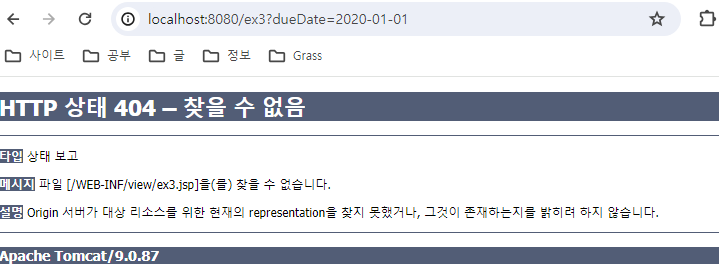
- 다시 서버 실행 후 URL 작성하면 정상 작동
6. 객체 자료형의 파라미터 수집
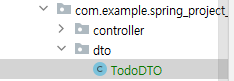
- dto 패키지 생성 후 TodoDTO 자바 클래스 생성
package com.example.spring_project_02.dto;

import lombok.*;

import java.time.LocalDate;

@ToString
@Data
@Builder
@AllArgsConstructor
@NoArgsConstructor
public class TodoDTO {
    private Long tno;
    private String title;
    private LocalDate dueDate;
    private boolean finished;
    private String writer;
}
- TodoDTO에 위 코드 작성
package com.example.spring_project_02.controller;

import com.example.spring_project_02.dto.TodoDTO;
import lombok.extern.log4j.Log4j2;
import org.springframework.stereotype.Controller;
import org.springframework.web.bind.annotation.GetMapping;
import org.springframework.web.bind.annotation.PostMapping;
import org.springframework.web.bind.annotation.RequestMapping;
import org.springframework.web.bind.annotation.RequestMethod;

@Controller
@RequestMapping("/todo")
@Log4j2
public class TodoController {
    @RequestMapping("/list")
    public void list() {
        log.info("todo list...");
    }

//    @RequestMapping(value = "/register", method = RequestMethod.GET)
    @GetMapping("/register")
    public void registerGET() {
        log.info("GET todo register...");
    }

    @PostMapping("/register")
    public void registerPOST(TodoDTO todoDTO) {
        log.info("POST todo register...");
        log.info(todoDTO);
    }
}
- TodoController를 위 코드로 수정
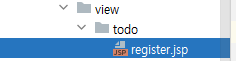
- view 폴더에 패키지와 파일 생성 후
<%--
  Created by IntelliJ IDEA.
  User: 평일 오전 계정
  Date: 2024-04-23
  Time: 오전 11:35
  To change this template use File | Settings | File Templates.
--%>
<%@ page contentType="text/html;charset=UTF-8" language="java" %>
<html>
<head>
  <meta charset="utf-8">
    <title>Title</title>
</head>
<body>
  <form action="/todo/register" method="post">
    <div>
      Title: <input type="text" name="title">
    </div>
    <div>
      DueDate : <input type="date" name="dueDate" value="2022-12-25">
    </div>
    <div>
      Writer : <input type="text" name="writer">
    </div>
    <div>
      finished: <input type="checkbox" name="finished">
    </div>
    <div>
      <button type="submit">Register</button>
    </div>
  </form>
</body>
</html>
- 위 코드 작성
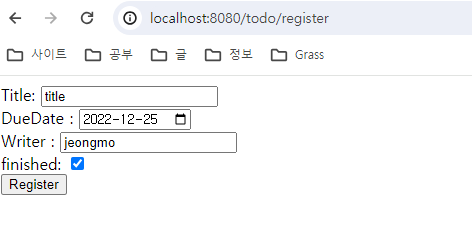

- 접속한 URL에 기입한 값들이 log에 찍히는 지 확인
7. Model이라는 특별한 파라미터
@GetMapping("/ex4")
public void ex4(Model model) {
    log.info("------");
    model.addAttribute("message", "Hello World");
}
- SampleController에 위 코드 추가

- ex4.jsp 파일 추가
<%--
  Created by IntelliJ IDEA.
  User: 평일 오전 계정
  Date: 2024-04-23
  Time: 오후 12:07
  To change this template use File | Settings | File Templates.
--%>
<%@ page contentType="text/html;charset=UTF-8" language="java" %>
<%@taglib prefix="c" uri="http://java.sun.com/jsp/jstl/core"%>
<html>
<head>
    <title>Title</title>
</head>
<body>
    <h1>${message}</h1>
    <h1><c:out value="${message}"></c:out></h1>

</body>
</html>
- ex4에 위 코드 추가

- 접속 확인
@GetMapping("/ex4_1")
public void ex4Extra(@ModelAttribute("dto") TodoDTO todoDTO, Model model) {
    log.info(todoDTO);
}
- SampleController에 위 코드 추가
8. RedirectAttributes와 리다이렉션
- RedirectAttributes에서 중요한 메서드
- addAttribute(키, 값) : 리다이렉트 할 때 쿼리 스트링이 되는 값을 지정
- addFlashAttribute(키, 값) : 일회용으로만 데이터를 전달하고 삭제되는 값을 지정
@GetMapping("/ex5")
public String ex5(RedirectAttributes redirectAttributes) {
    redirectAttributes.addAttribute("name", "ABC");
    redirectAttributes.addFlashAttribute("result", "success");

    return "redirect:/ex6";
}

@GetMapping("/ex6")
public void ex6() {

}
- SampleController에 위 코드 추가

- view 폴더에 ex6.jsp 파일 추가
<%@ page contentType="text/html;charset=UTF-8" language="java" %>
<html>
<head>
    <title>Title</title>
</head>
<body>
  <h1>ADD FLASH ATTRIBUE : ${result}</h1>
</body>
</html>
- 위 코드 추가
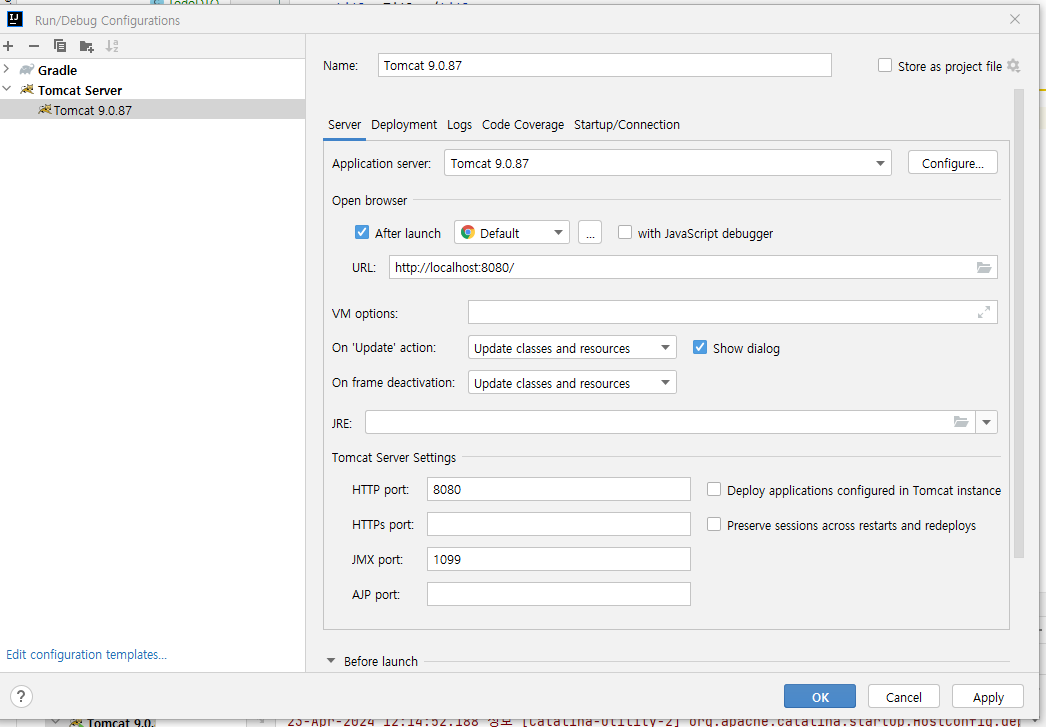
- 서버 edit configuration > 둘 다 Update classes and resoures로 변경

- 실행 후 URL에 위 처럼 접속했을 때,
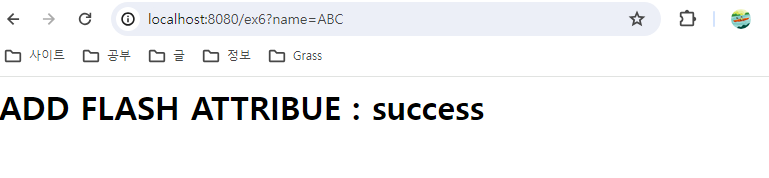
- ex6로 리다이렉트가 되고, 화면 구현
공부 과정을 정리한 것이라 내용이 부족할 수 있습니다.
부족한 내용은 추가 자료들로 보충해주시면 좋을 것 같습니다.
읽어주셔서 감사합니다 :)